Hello! As the title suggests, I'll be sharing some of the tricks and knowledge that I have learned throughout my time messing around with Text Blaze (In my free time). Are you curious on how to make a snippet that looks like this?
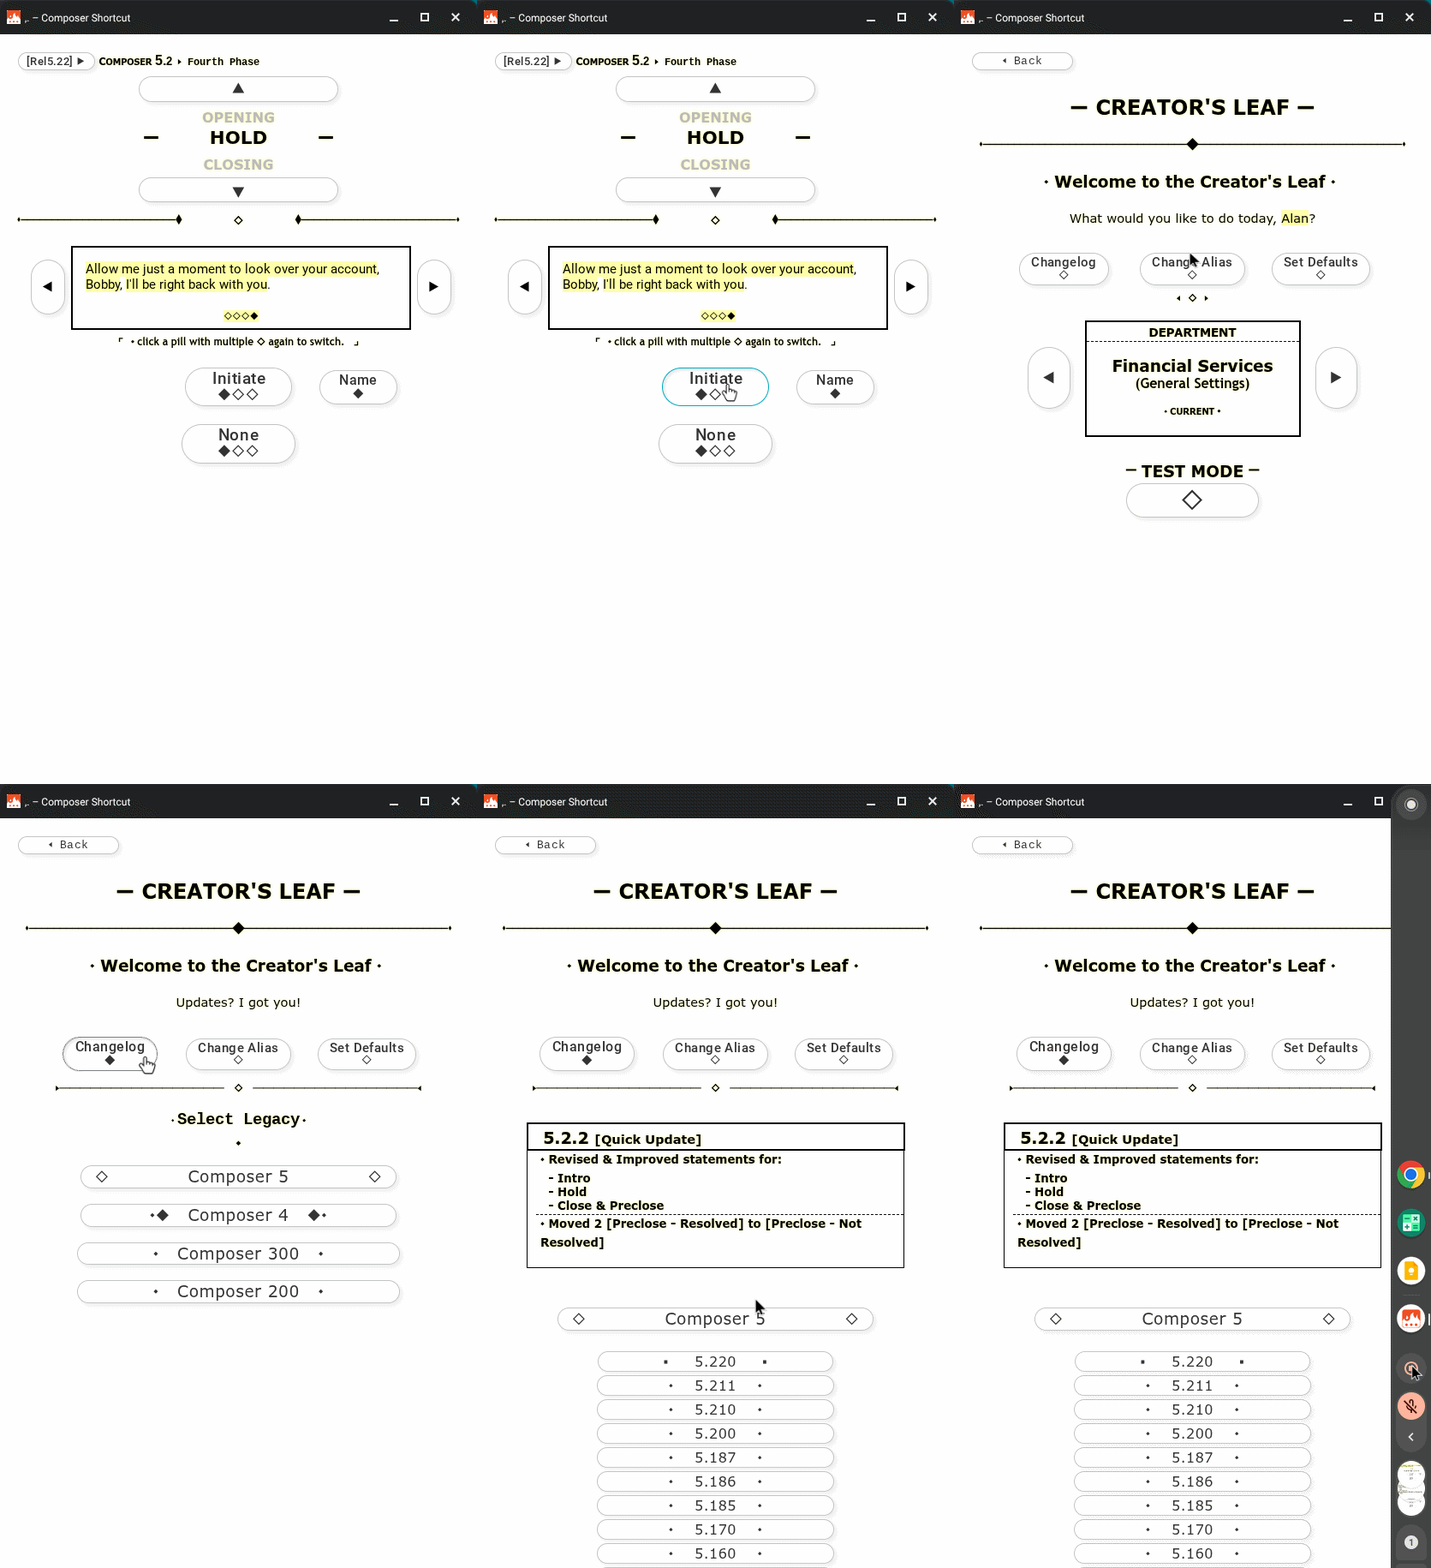
If yes, then I'd be glad to share some of the basic parts of this snippet that I have made named "Composer".
1. Button Resizing
Show Contents
Having custom sized buttons makes a snippet look way more appealing and aesthetic. Right now, Text Blaze doesn't offer a direct way of resizing buttons, however I found a way to do so using the built in property called "label" alongside with its advanced editor (lightning icon beside it).
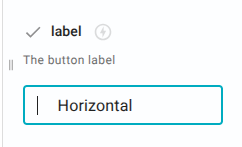
-
Horizontal Resizing
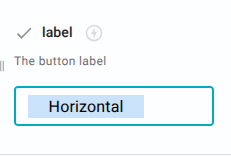
This way of resizing doesn't require Advanced editor, you just simply need to add spaces (" ") before and after the text / character that you wish.
It should look like this inside a snippet:
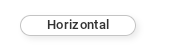
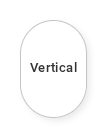
Feel free to resize the text size and the button should grow as well -
Vertical Resizing (Type A)
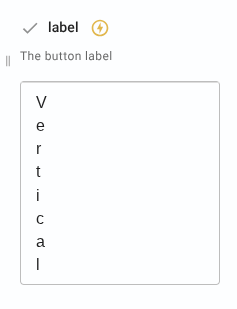
As for this way of resizing, it requires the Advanced Editor, however do not worry, it is not that complicated as you think. First off, you need to press the Advanced Editor button (lightning icon beside the "label") in order to access the Advanced Editor, of course. After that, you may now type your word vertically by pressing enter after each character.
It should look like this inside a snippet:
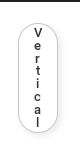
-
Vertical Resizing (Type B)
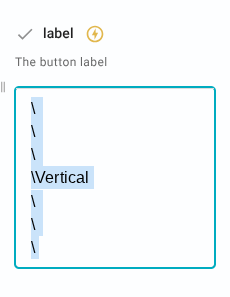
Another way of Vertical Resizing is having spaces instead of characters, here is an example of what it looks like:
It is done the same way as Type A however instead of putting character/s after " \ ", you will put a space instead (" ")
2. Using Notes
Show Contents
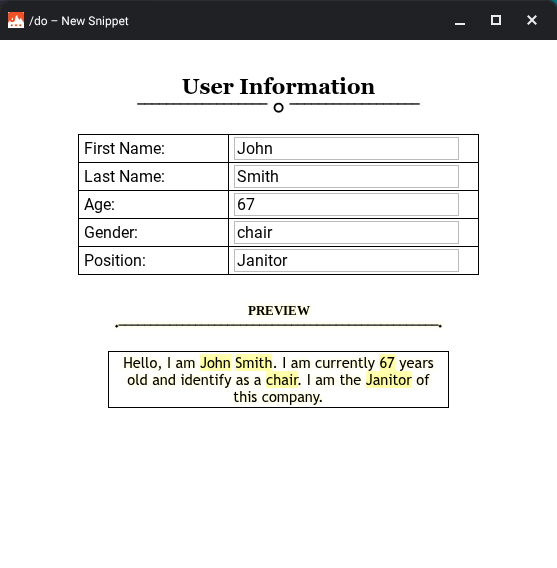
Notes are another versatile tool that you could use in creating visuals for your snippet. You could make a snippet look good visually like this one whilst keeping its function:
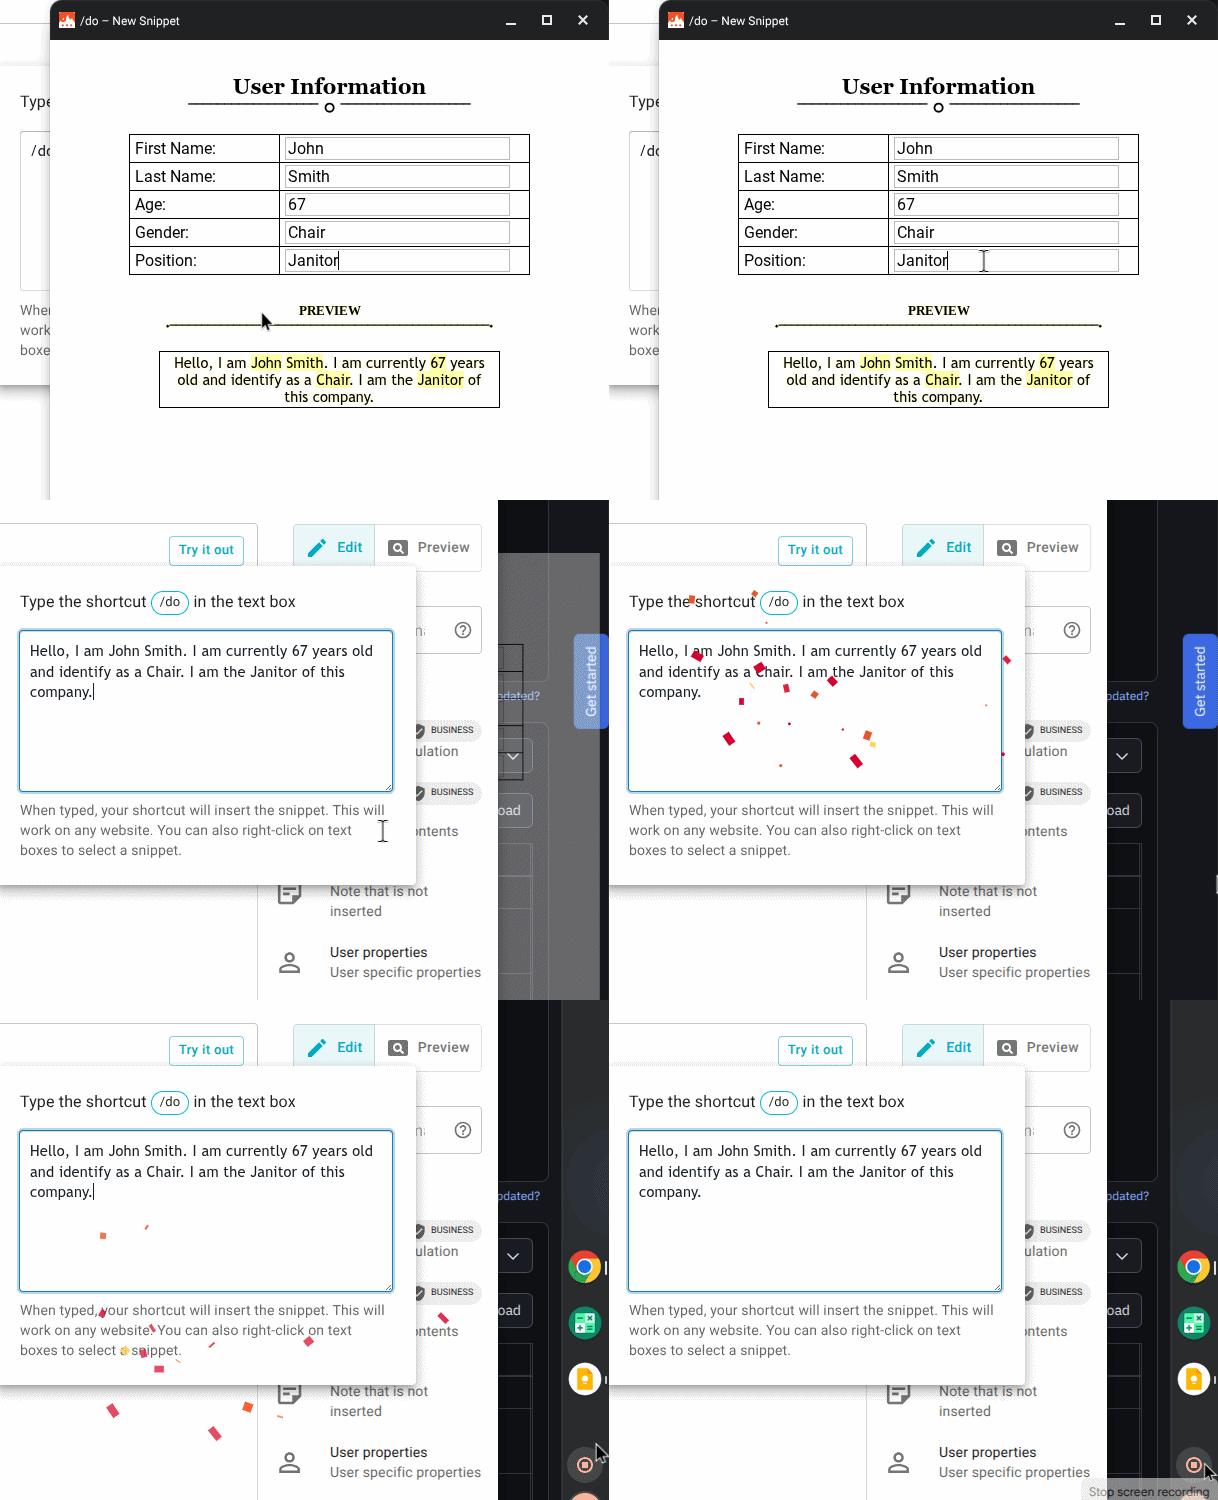
Here is what it looks like when inserted:
There are two Notes properties that you'll be using the most in using Notes in your snippet, that is Insert and Preview.
-
Insert: It determines whether the content of a note would be included on the final product or not. if "yes", all the content inside would be inserted as well, while if "no", it won't be included.
-
Preview: It determines whether the content of a note would be visible on the snippet's pop up (preview) or not. If "yes", the contents will be visible whilst if "no", it won't be.
Here are some examples:
- Insert (no, yes): {note: insert=no}I won't be inserted but you can see me{endnote} {note: insert=yes}I'll be inserted and you can see me{endnote}
- Preview (no, yes): {note: preview=no}I won't be showing up{endnote}{note: preview=yes}I'll be showing up{endnote}
- Insert & Preview (no;yes, yes;no): {note: preview=no; insert=yes}you can't see me but I will be going to be inserted{endnote}{note: preview=yes; insert=no}You can see me, but I won't be inserted.{endnote}
You can use these Note properties to make some amazing things within your snippet, such as display, previews, and more visual related things.
3. TBA (Lacking of brain juice)